A bonded coating.
Epoxy combines resin and a hardener that cure into a bonded coating. It is installed over a suitably prepared substrate; it is not a floating plank or a replacement for a sound concrete slab.

EPOXY / RESIN FLOORING / INDIANAPOLIS
From a hardworking garage to a calm kitchen or bathroom, explore epoxy and resin flooring shaped around your space. Color, texture and a considered finish start underfoot.
Plan your floor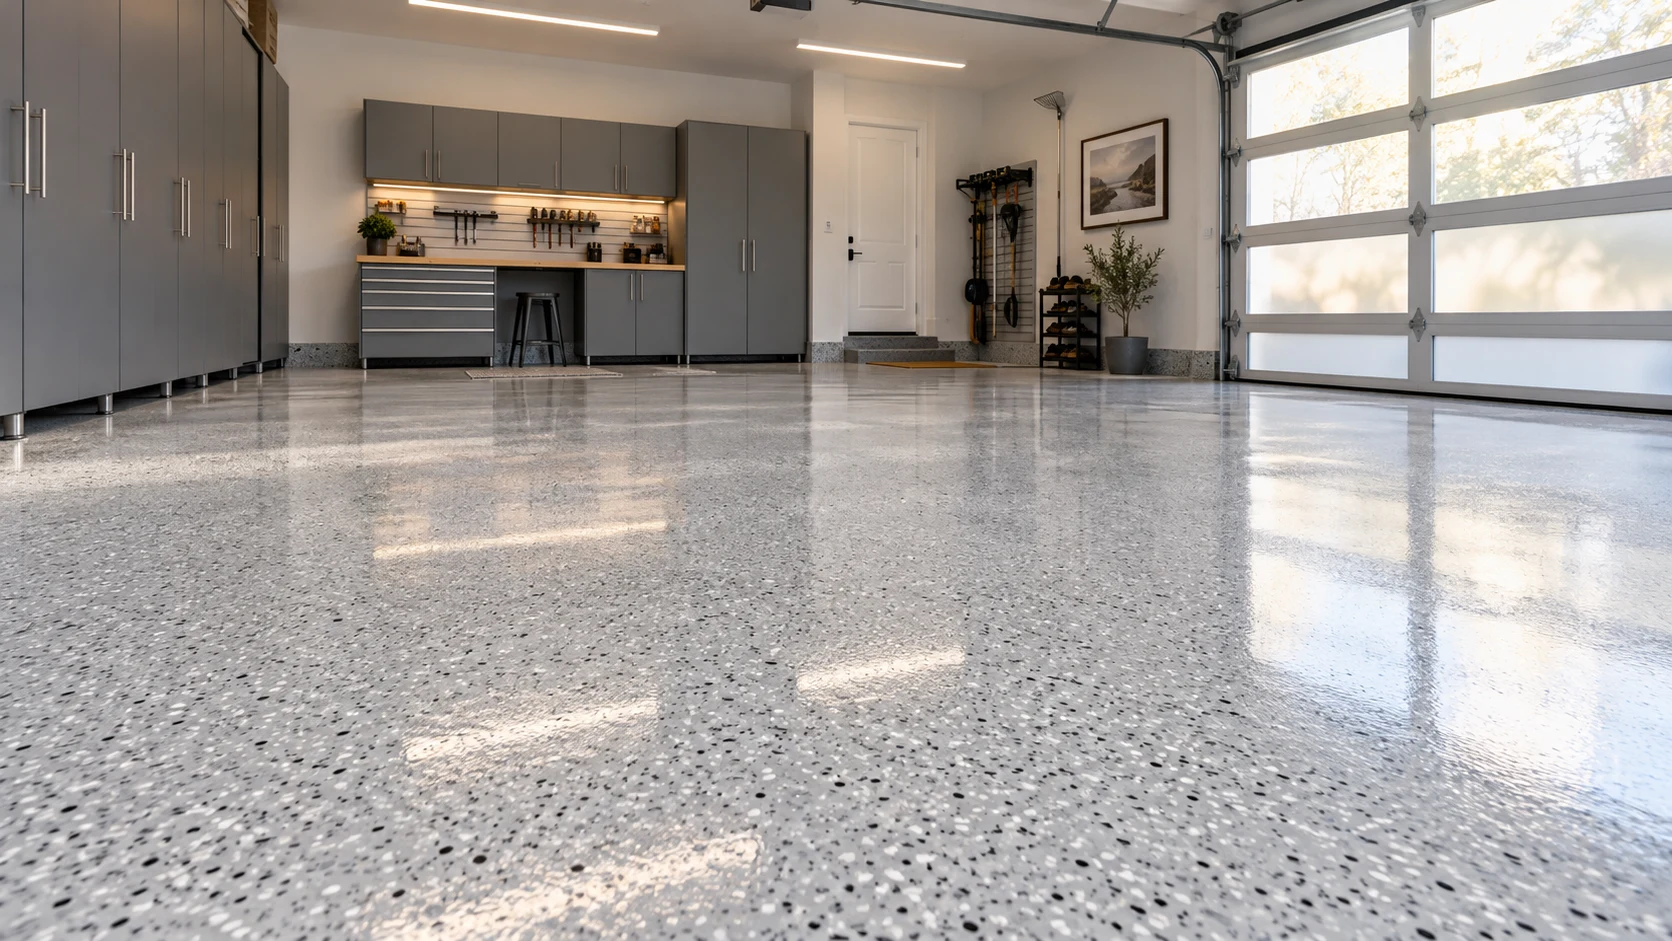
UNDERSTAND THE MATERIAL
Epoxy combines resin and a hardener that cure into a bonded coating. It is installed over a suitably prepared substrate; it is not a floating plank or a replacement for a sound concrete slab.
Existing coatings, contamination, moisture and cracks need assessment before installation. Surface preparation and a compatible primer help create the foundation for the finish.
The selected build-up may include a primer, resin layer, decorative material and protective topcoat. The room’s traffic, exposure and maintenance needs guide the specification.
THE FINISH COLLECTION
Tap a finish to enlarge the reference. Explore the look, then select the actual material with the team.
EPOXY & RESIN / INTERIOR SPACES
Consider resin flooring in kitchens and bathrooms. Match the system to the substrate, moisture exposure and grip needed in each space.
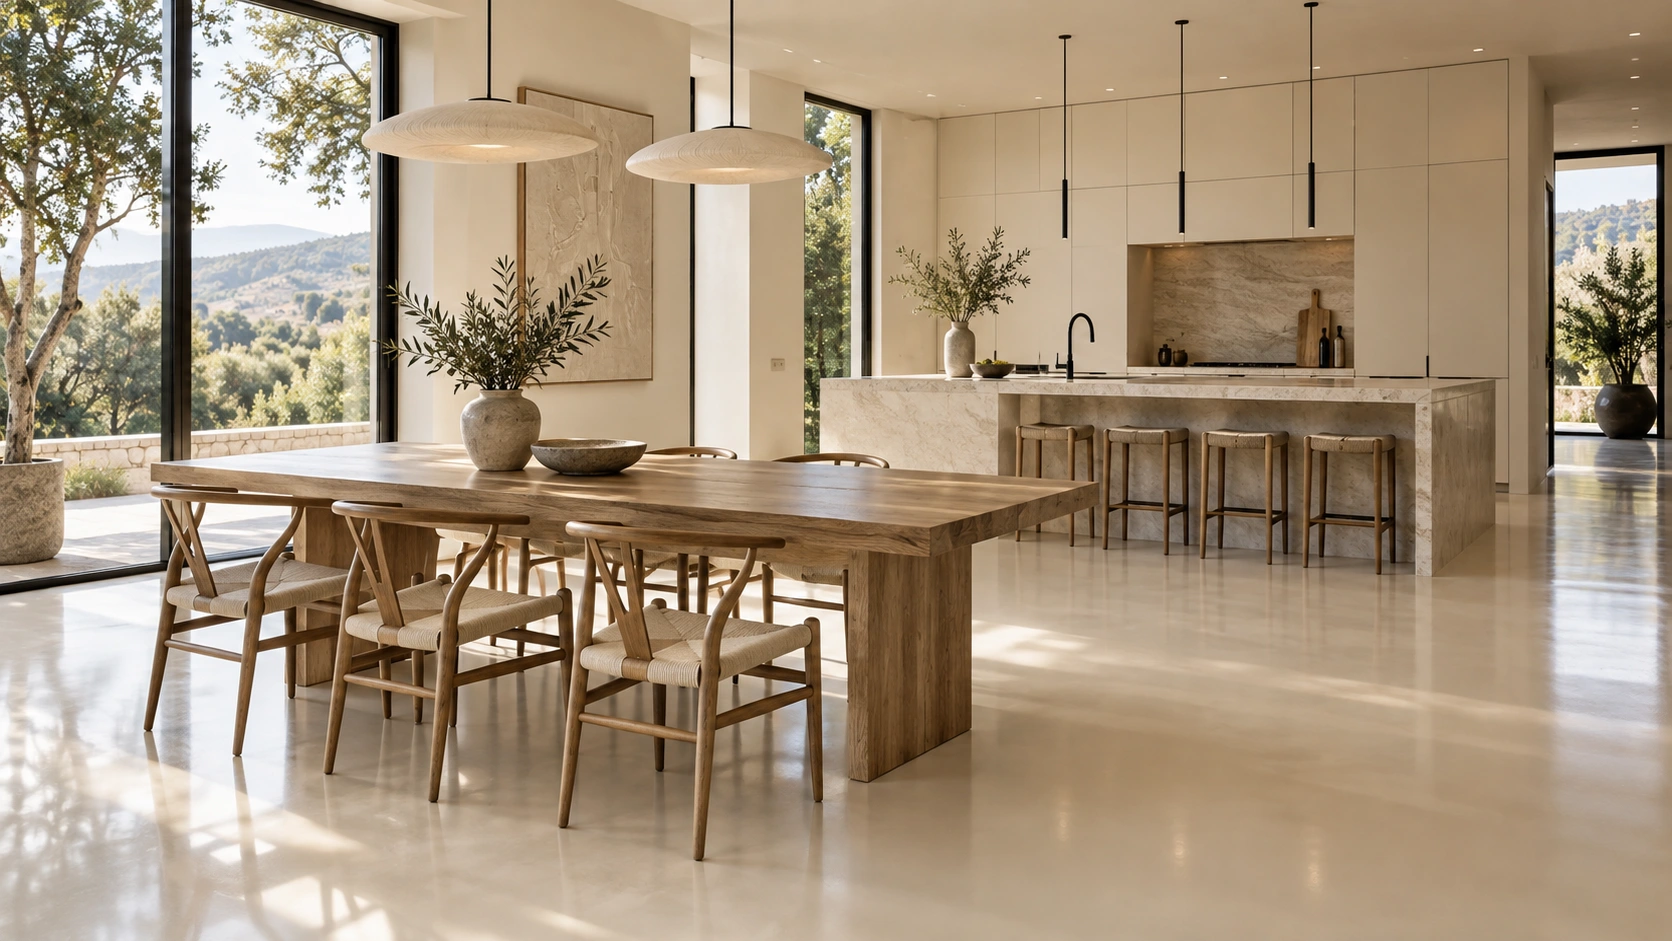
Kitchen & dining · a coordinated floor that connects the space.
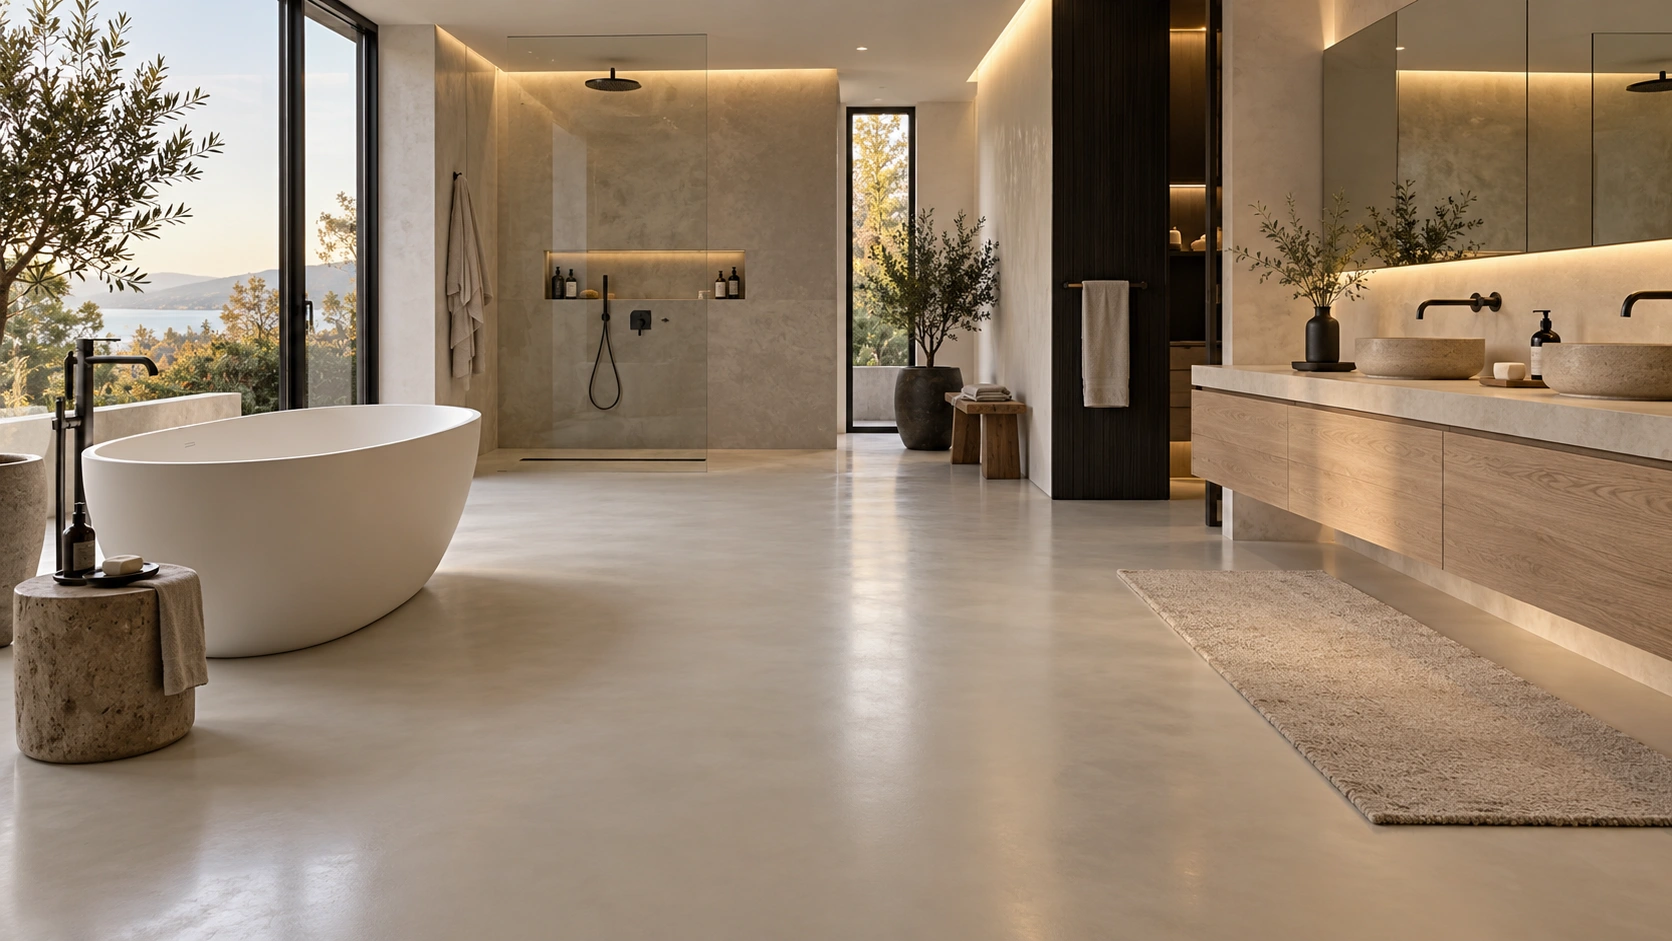
Bathrooms · consider wet-area detailing, drainage and surface grip.
COLOR / TEXTURE / SHEEN
Warm sand, soft gray, charcoal or a custom direction: compare physical samples under your own lighting. Screen colors are a starting point, not an exact product match.
Flake size, broadcast density and suitable aggregate change the feel of the surface. Balance the appearance, cleaning routine and traction needed for the room.
Choose a compatible finish for the intended use. Sunlight, spills and everyday wear matter; outdoor areas need a system specifically suited to UV and weather exposure.
OUTDOOR RESIN SYSTEMS
Patios, walkways and garage approaches deserve the same attention. Specify a system for UV, moisture, drainage and the local freeze-thaw exposure.
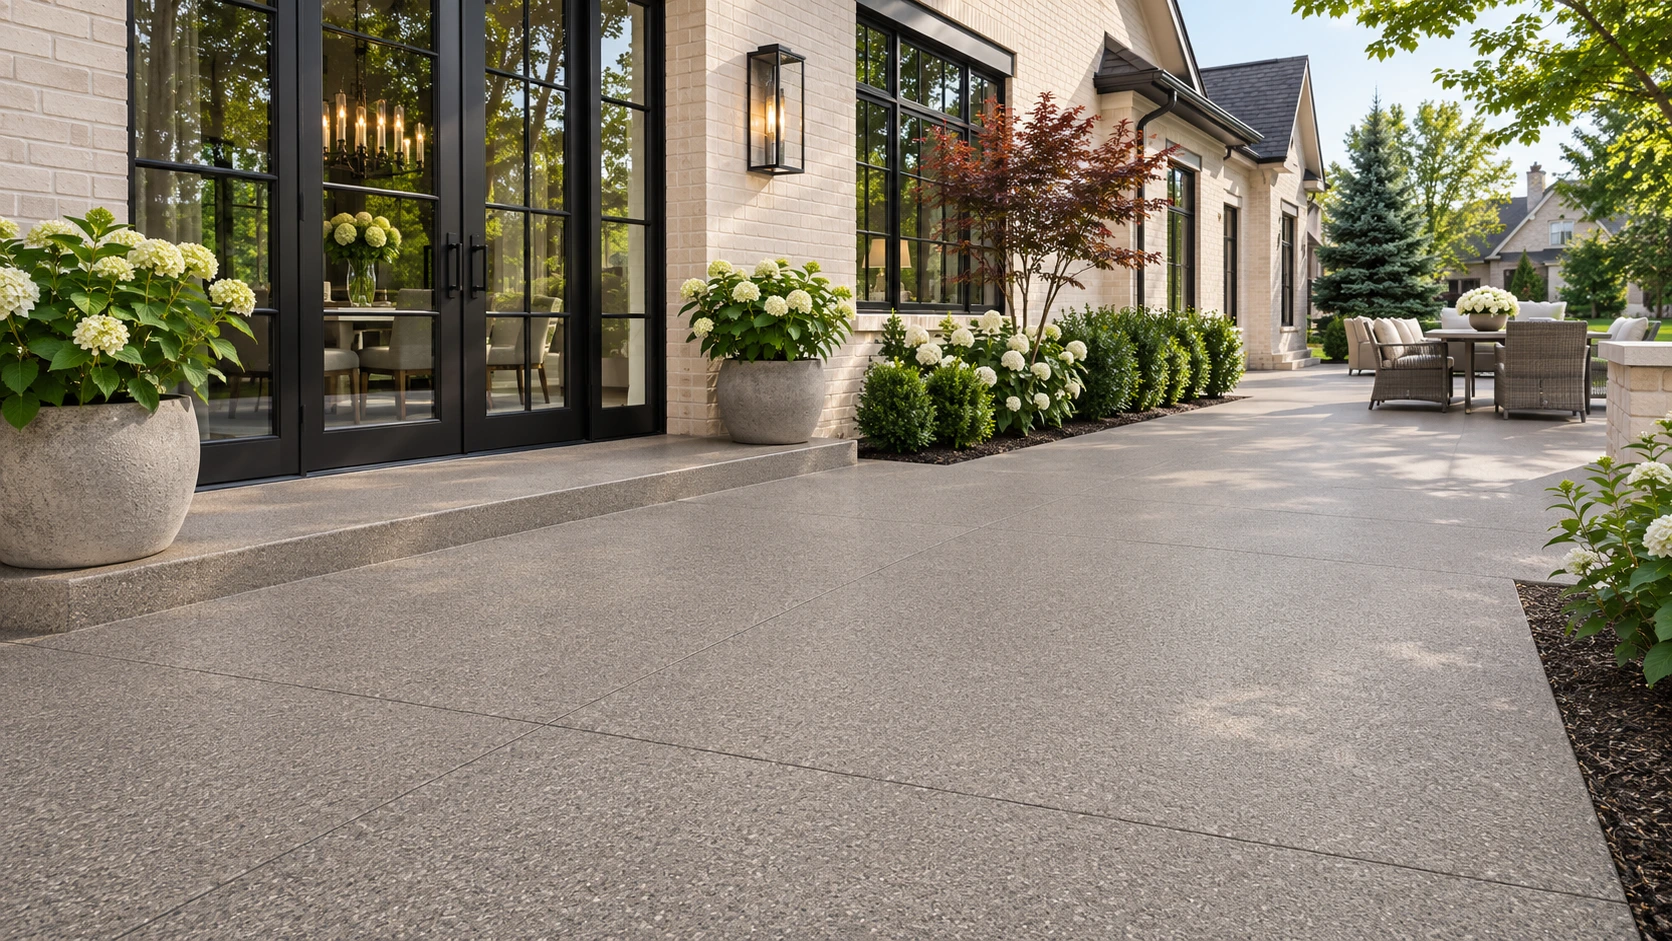
A coordinated textured surface that connects the home and garden.
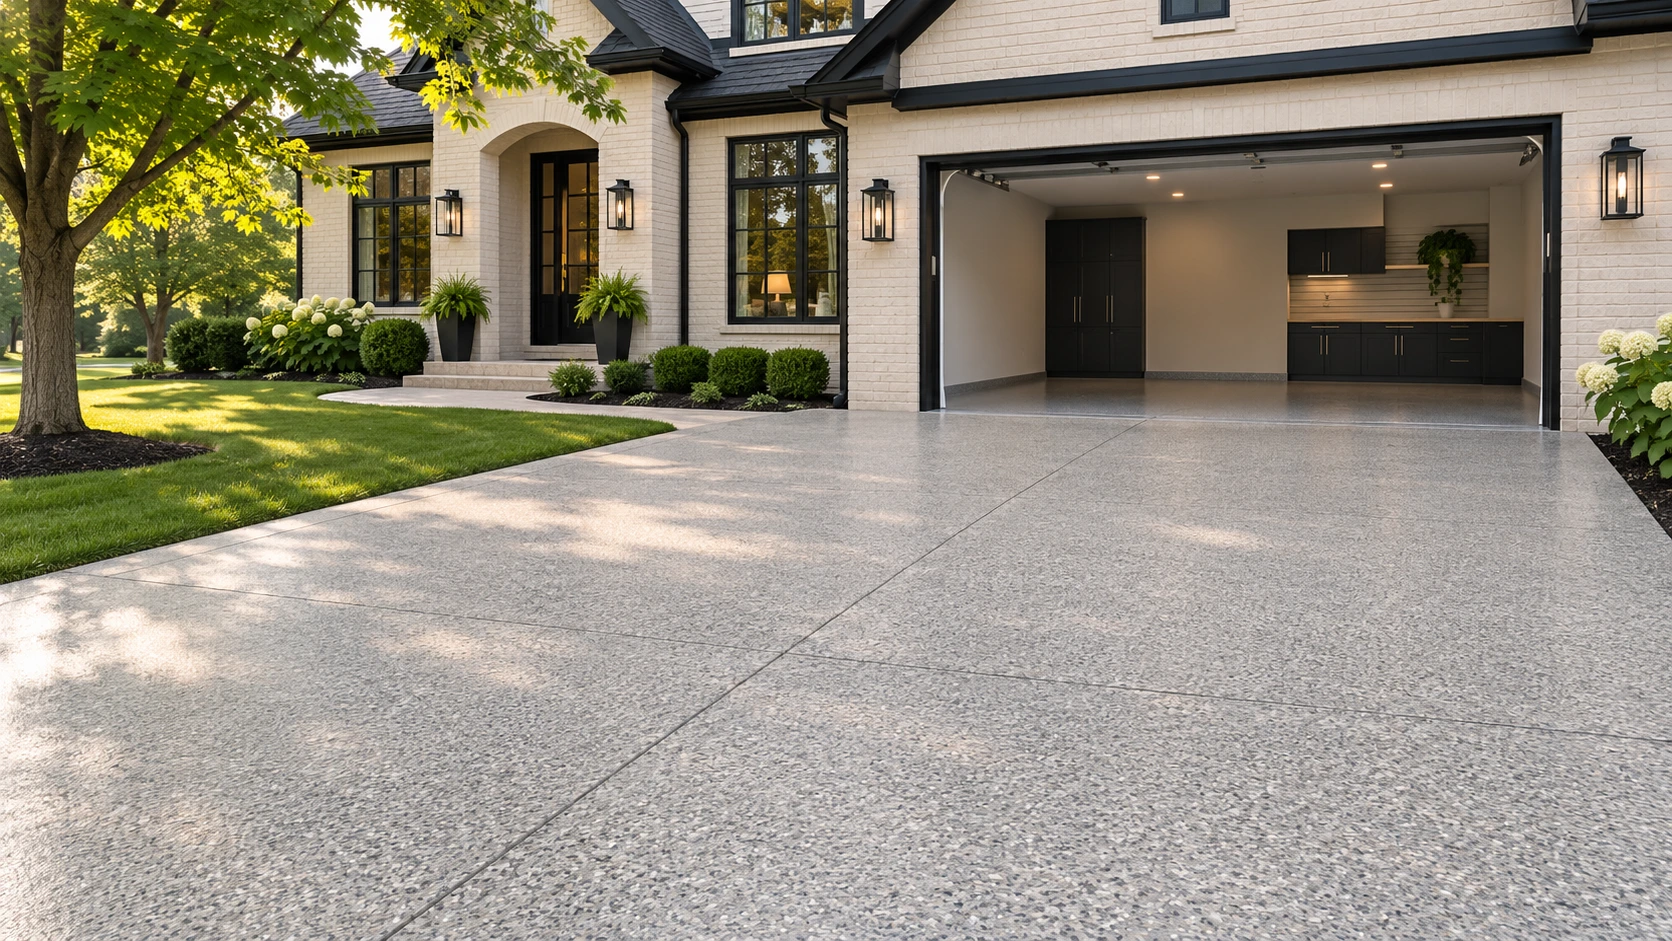
A finish selected for outdoor conditions and the intended traffic.
Standard epoxy is not automatically suitable for sun exposure. The project may require a UV-stable topcoat or another compatible outdoor resin system.
THE CALACATTA LOOK
An ivory foundation with flowing gray and warm gold veins. A decorative resin interpretation of marble—not stone slabs.
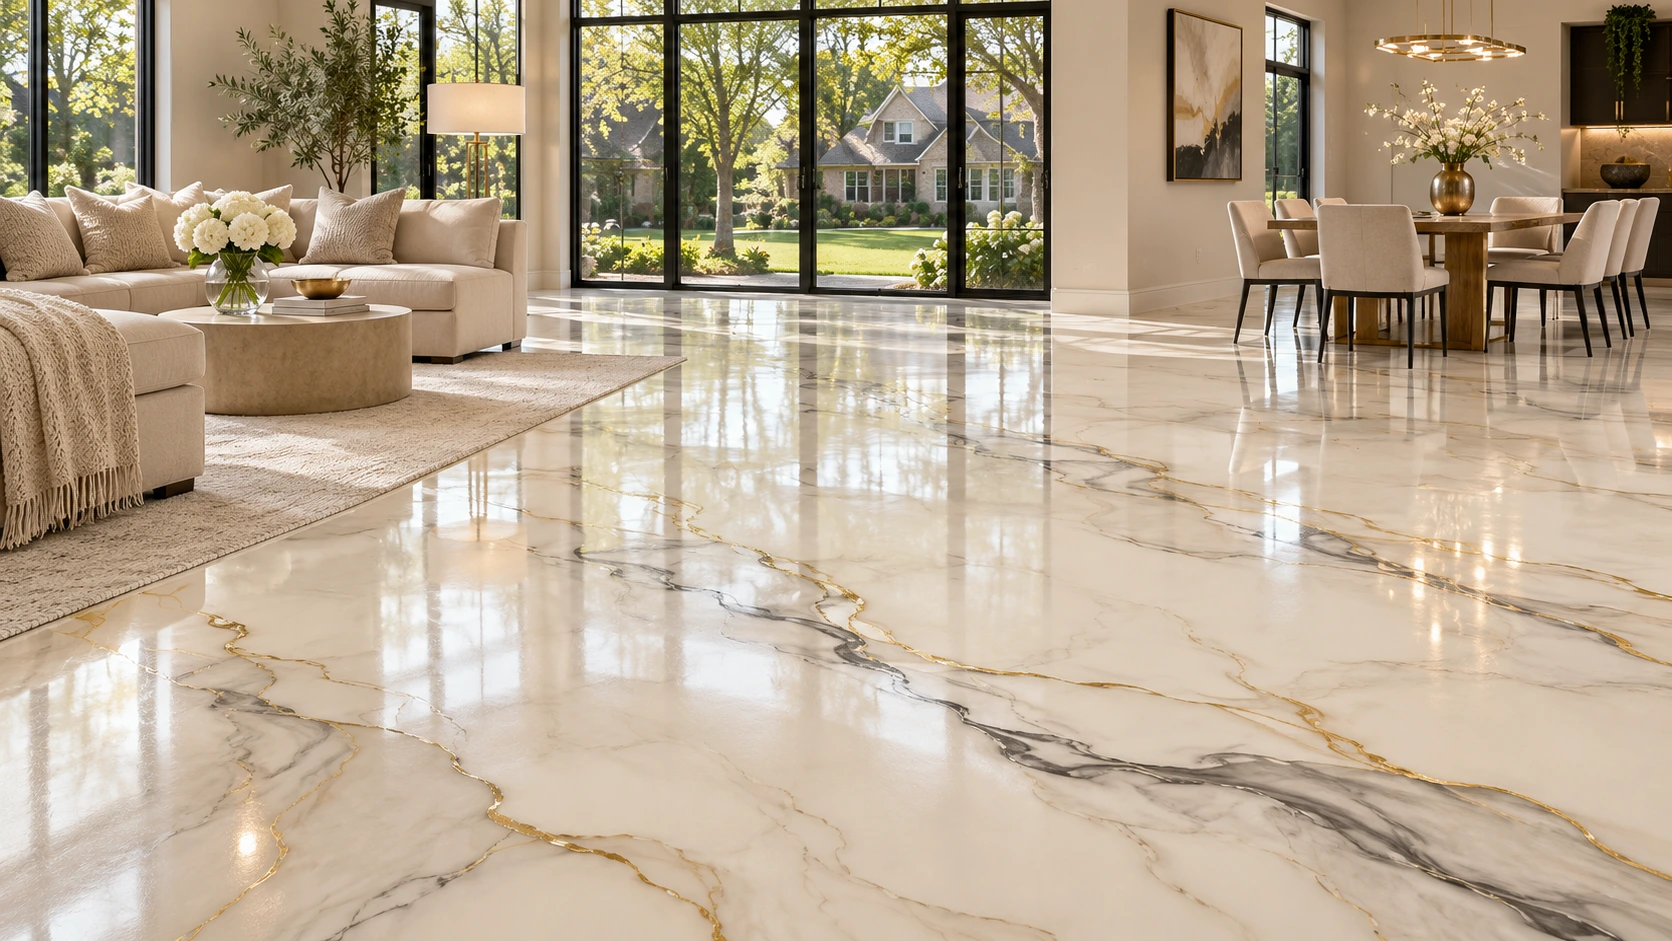
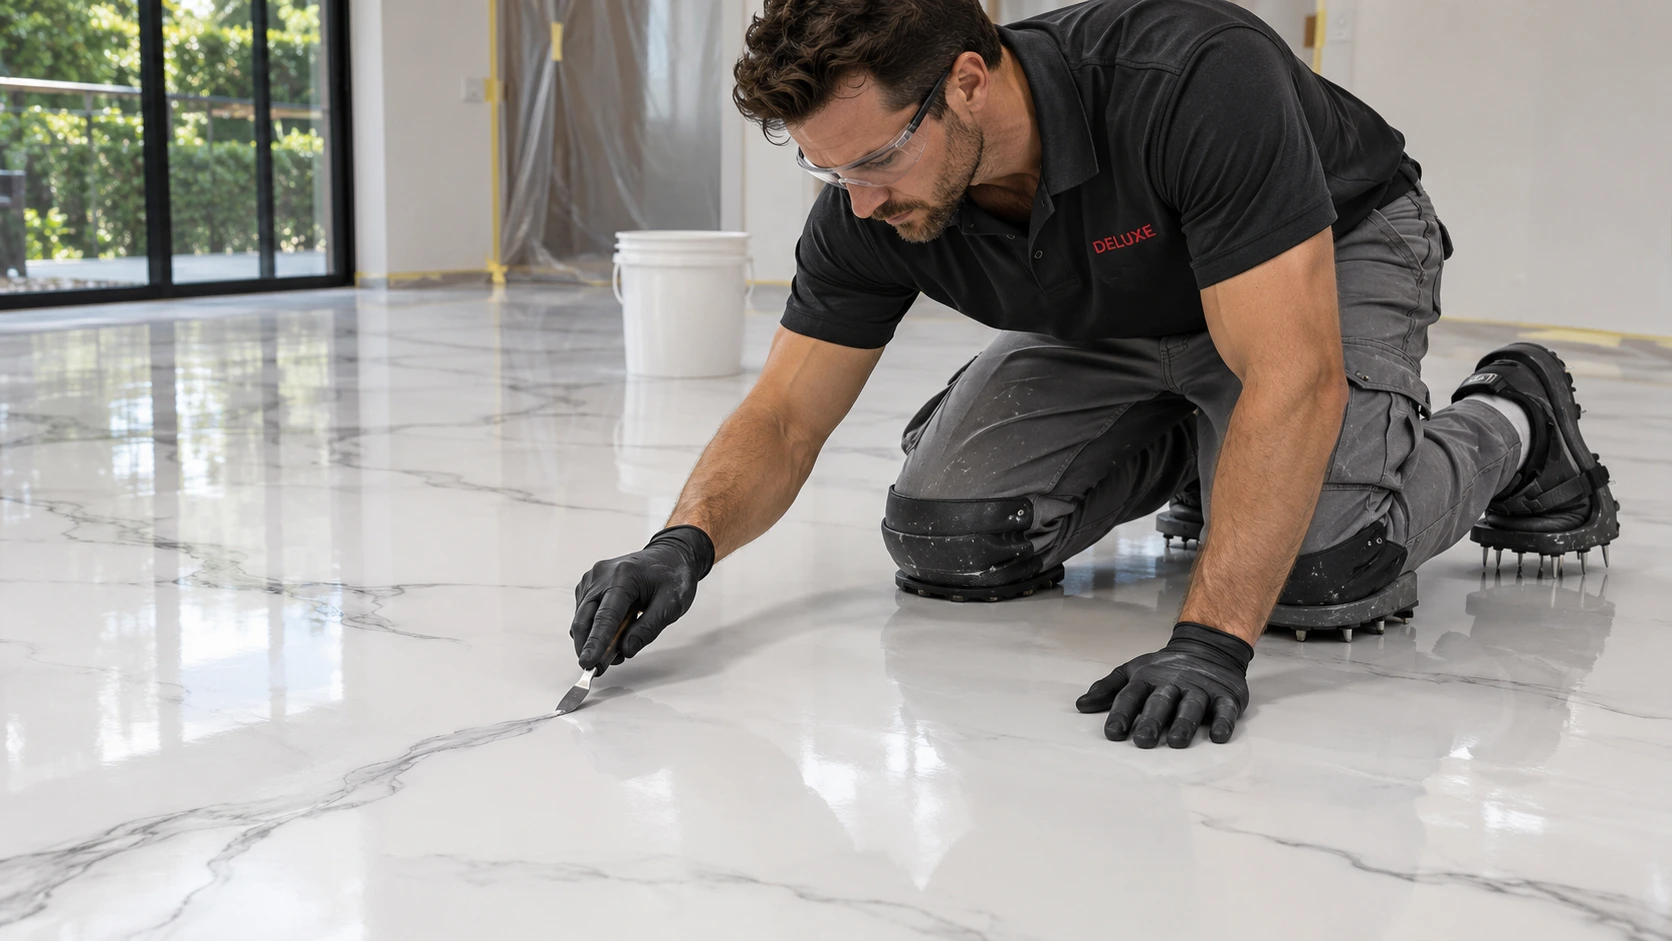
Illustrative AI-created application scene.
CRAFT / COLOR / CONTROL
Veining, contrast and sheen work together. Review a sample before installation: hand-applied decorative effects naturally vary from one floor to another.
Plan a decorative floorTHE DELUXE COLOR EDIT
Select a direction below. These generated samples explore color families; confirm actual blend availability and physical samples with the team.
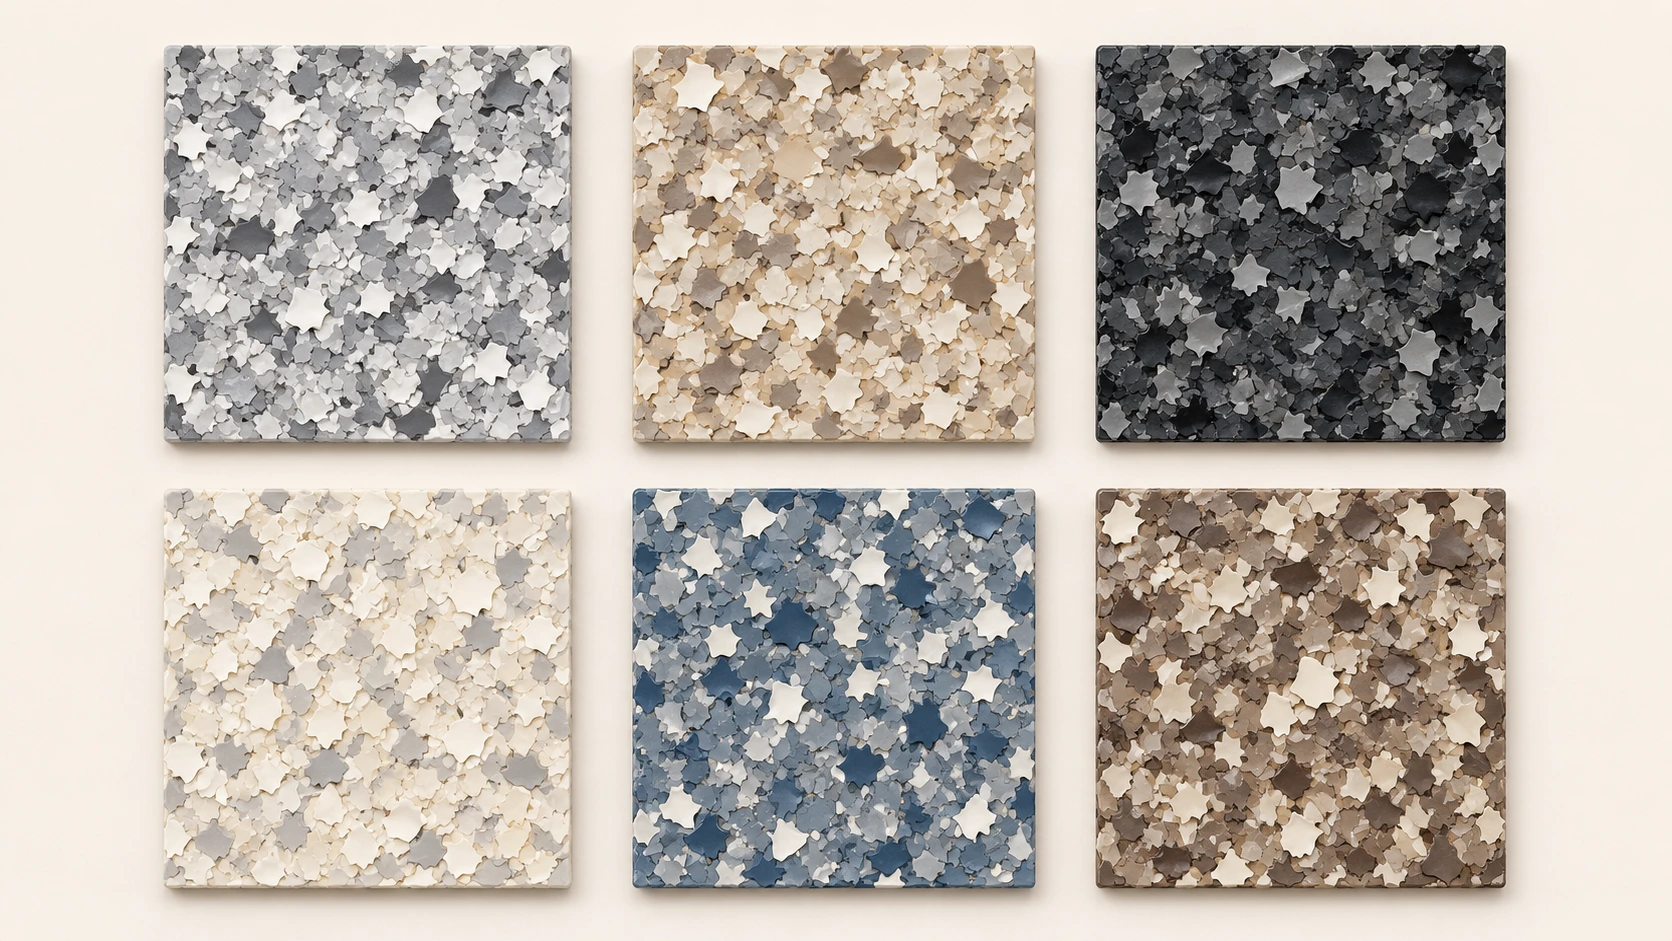
YOUR COLOR DIRECTION
A balanced blend of light gray, white and deeper gray.
Discuss this finish ↗Concept samples, not manufacturer color codes. Lighting, flake size and topcoat change the final appearance.
BENEATH THE SURFACE
Explore a typical decorative flake coating system, from the prepared slab to the protective finish.
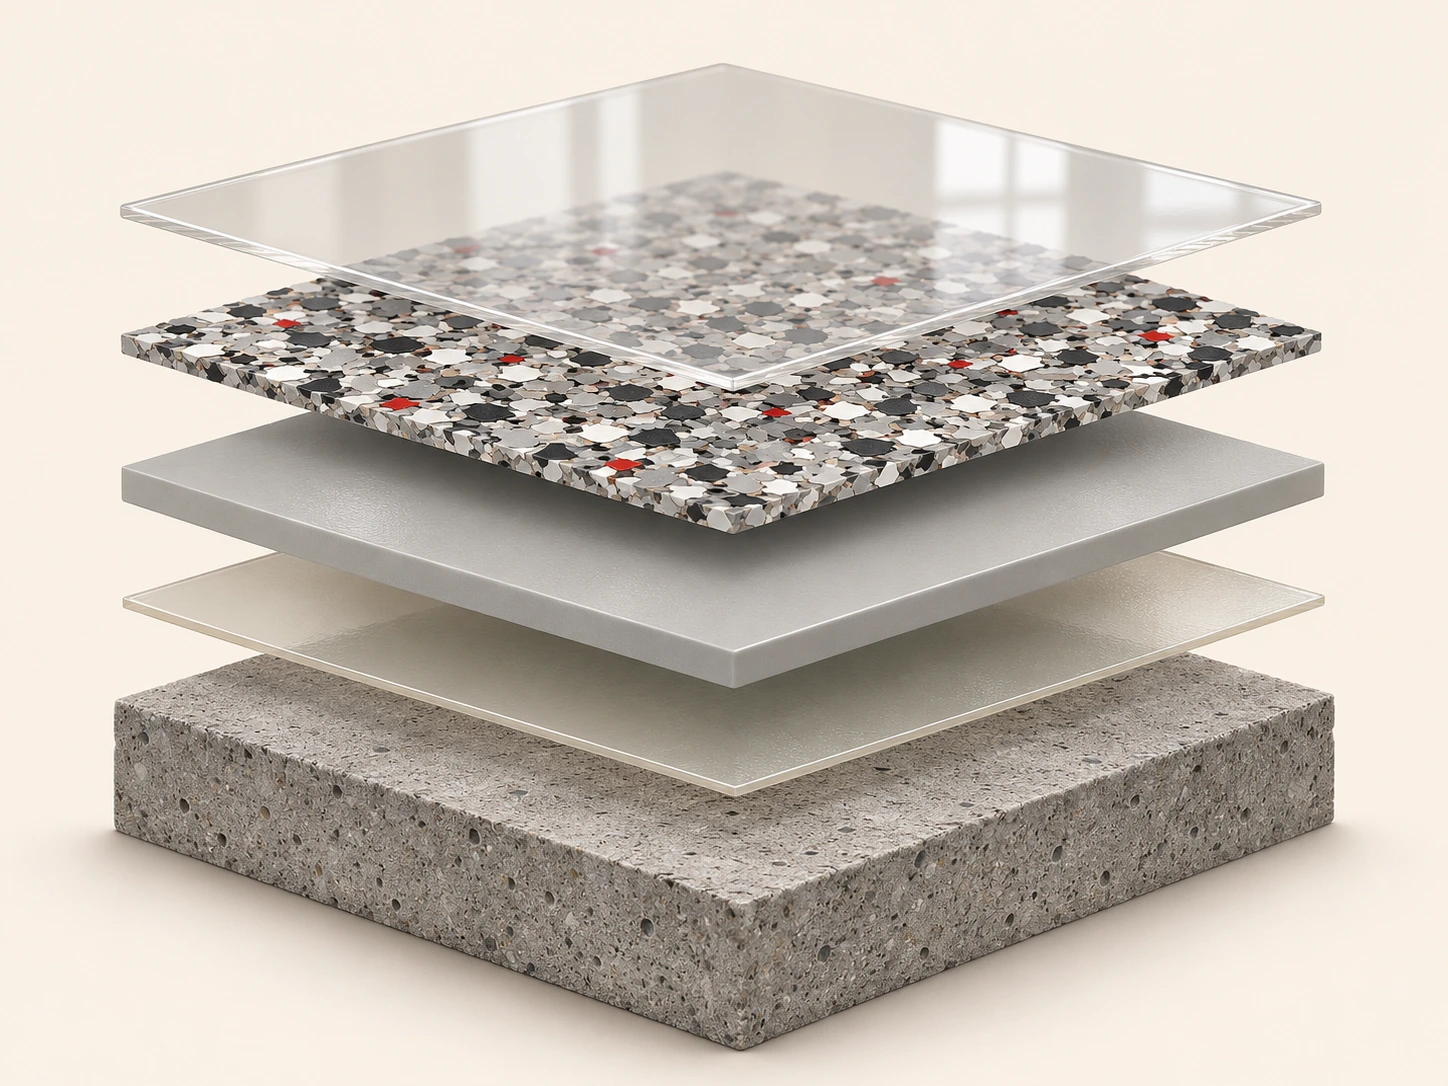
The finishing layer is selected for the intended wear, cleaning and exposure. Outdoor systems need appropriate UV stability.
Flakes add color and texture. Metallic and solid-color floors use a different decorative build-up.
A compatible resin layer carries the decorative finish and bonds into the specified system.
Primer selection depends on the substrate and system, including any required moisture treatment.
Inspect moisture, profile the surface and address suitable defects. Existing joints and movement require appropriate detailing.
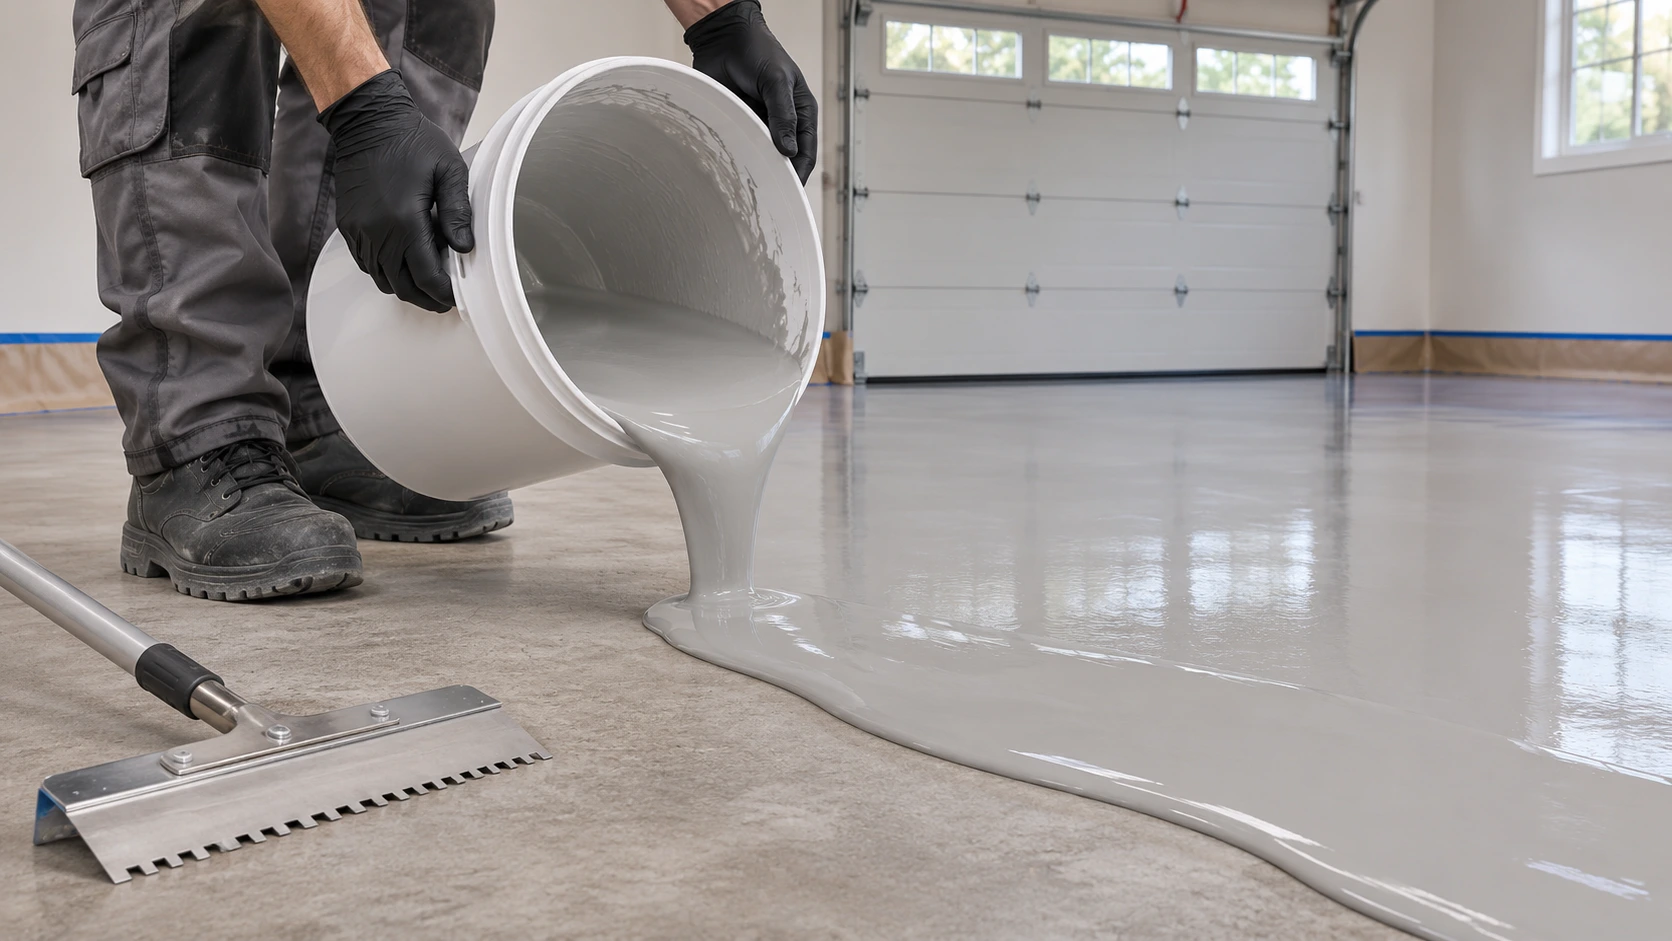
FROM LIQUID TO FINISH
The transformation starts before the resin is poured. Surface preparation, correct mixing, working time and even coverage all shape the result.
Illustrative AI scene. Installation follows the selected manufacturer’s system.
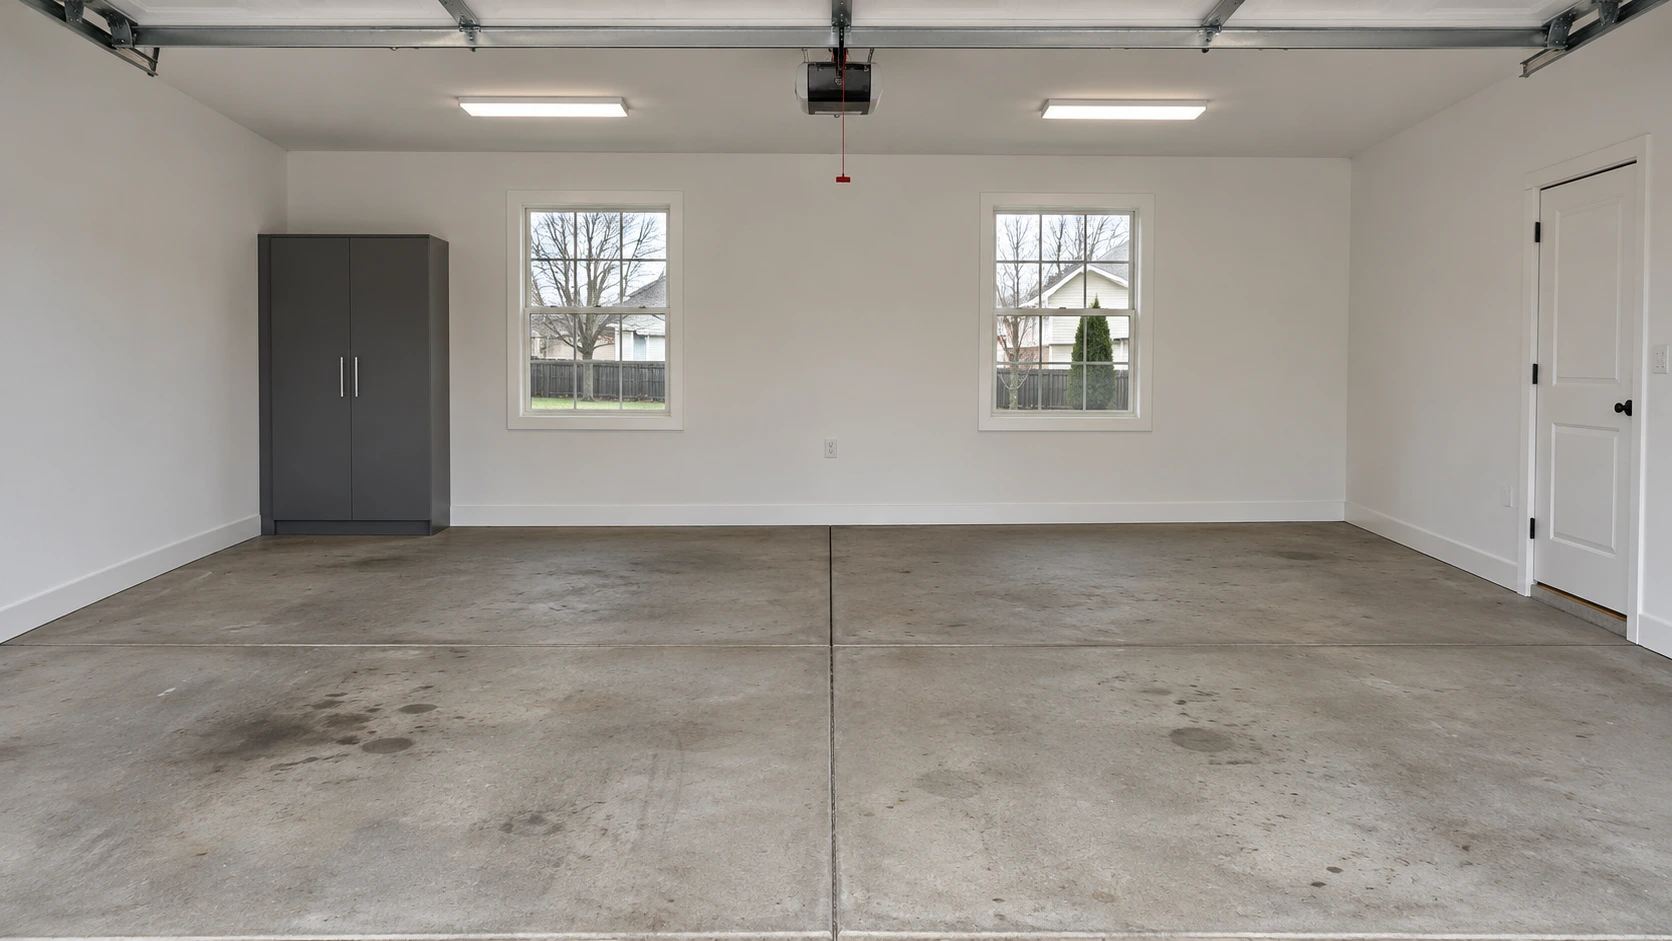
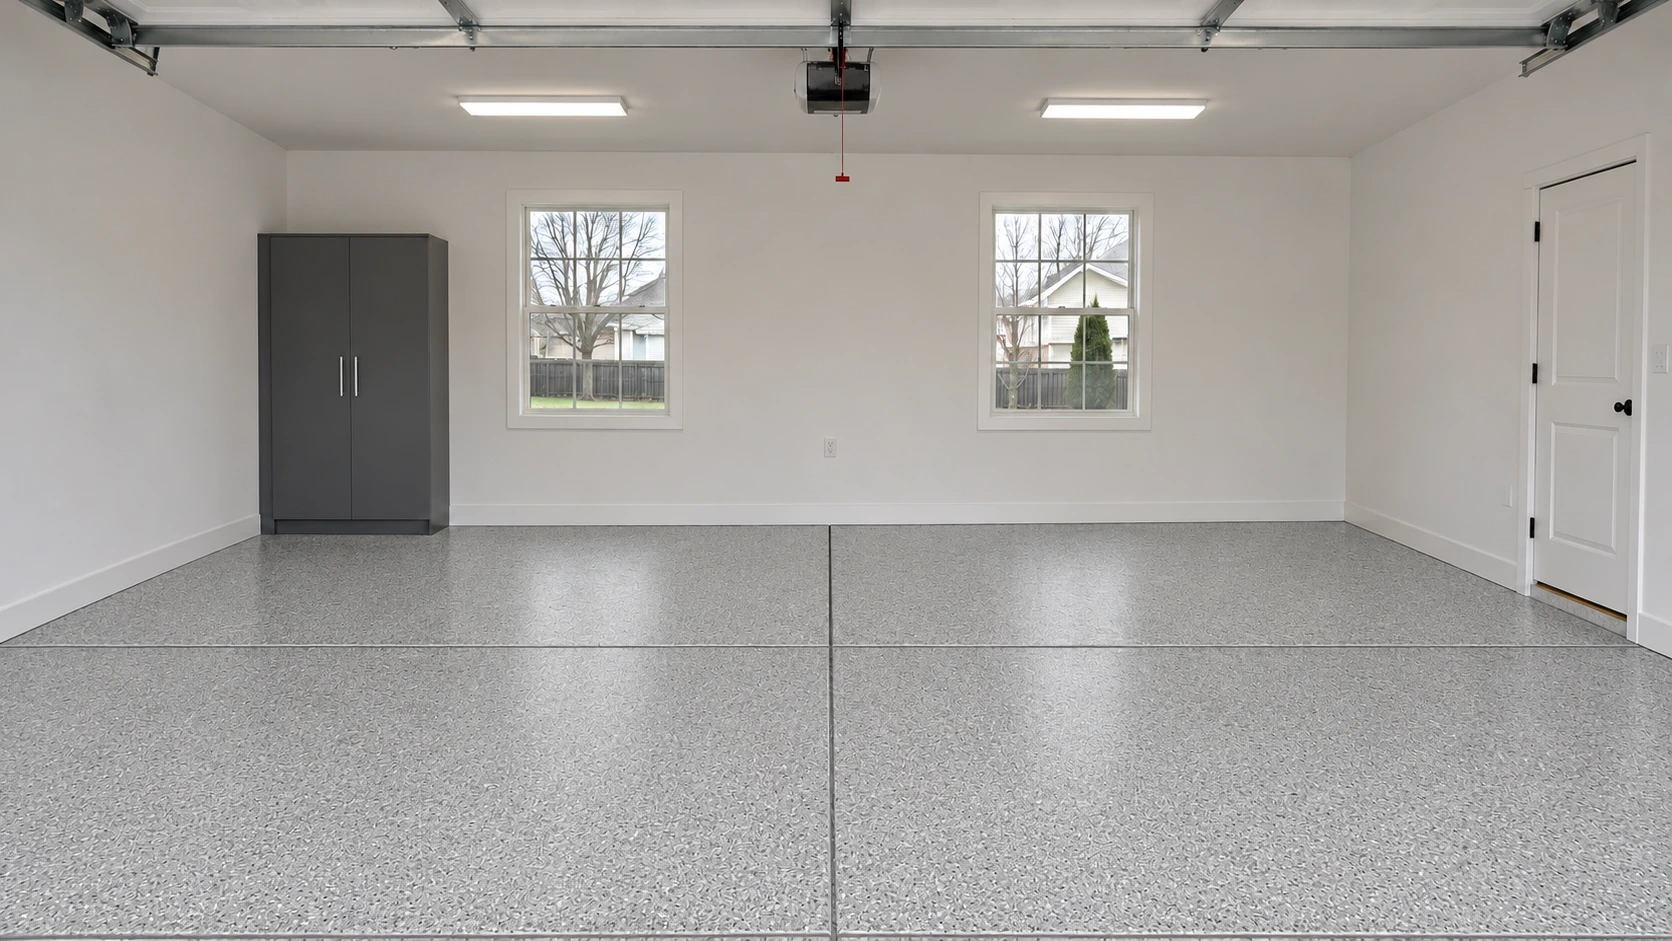
BEFORE / AFTER · DESIGN SIMULATION
Slide to compare bare concrete with a conceptual decorative flake finish. This is an AI visualization, not a completed client project.
GOOD TO KNOW
A site assessment comes first. Concrete condition, moisture, previous coatings and adhesion determine the preparation and compatible system. Not every existing surface is suitable.
No. Wet rooms need suitable waterproofing, detailing and drainage as well as a specified floor finish. Grip depends on the system, texture, water and maintenance.
Cure times vary with the product, temperature and conditions. The team should confirm separate guidance for walking, moving furniture and full use before installation.
YOUR NEXT FLOOR STARTS HERE